What’s in the bag?
The kit contains:
One link piece with two bearings ball bearings installed
Two stainless steel shoulder screws with stainless nylock nuts
One #13 drill bit
One 3/16″ drill bit
What to do:
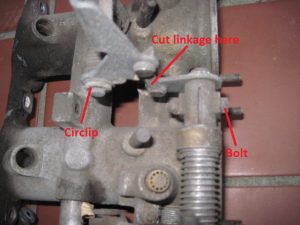
Remove the linkage from the throttle. You must remove the bolt and the circlip to remove the throttle linkage. Because the linkage halves must slide off in different directions, it is not simple to remove this without further disassembly. The easiest method is to cut the link that you will be replacing using a Dremel tool or sturdy cutters (it is not hardened and will cut rather easily.) Be careful not to lose the bolt, nut, circlip, washers, or curved plates during disassembly.
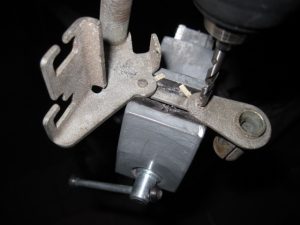
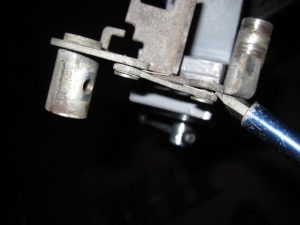
Once you have the linkage off the throttles, you will need to drill the riveted pin out. You can use the provided #13 drill bit or you can grind them off with a Dremel. If you have trouble centering the bit, it is a good idea to center punch it with a punch or nail. Once the riveted part is drilled or ground off, you can pry the link apart to get the pin out or you can drive it out with a punch. Be careful not to bend the parts of the linkage that will not be replaced.
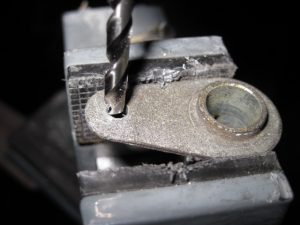
Why 2 different sized drill bits? Well the #13 is ever so slightly smaller than 3/16″. You need to drill the holes that the riveted pins went though. If you are using a hand drill, you will want to start with the #13 bit and test fit your screw. It should not fit yet, but it is possible to wallow out the hole if you are not using a drill press. If it fits in the hole you can move on to the other piece of the linkage, otherwise, switch to the 3/16″ bit and carefully finish the hole (go slowly.) Repeat for the other side.
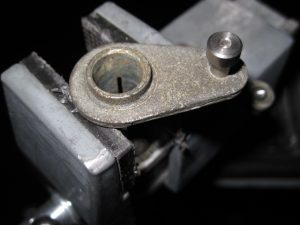
After #13 bit, the screw may not fit well.
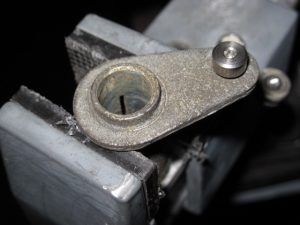
After 3/16″ bit the screw should fit snugly.
Now you can join the two halves of the linkage with the replacement part. This should be put together as you received it. The head of the screw should be on the same side of the link as the flanged side of the bearing. It should be bolted to the same side of the linkages as the original.
Make sure everything is together and moves freely. Contact us if you run into any trouble.